How To Install Cores Onto Your Analogue Pocket
It is exciting times for owners of the Analogue Pocket after the release of the openFPGA update, which allows third-party game console cores to be manually installed.
So now is the perfect time to show you guys how to install cores onto your Analogue Pocket.
You can think of “cores” as their own self contained programs that can be installed to the Pocket that tells the FPGA chipset how to mimic the exact performance of the chosen retro console.
After we shared with you how the Analogue Pocket can now run ROMs thanks to openFPGA update, we felt like it would only be right to tell you exactly how that all works and how to setup new console cores to the Pocket.
So without further ado…
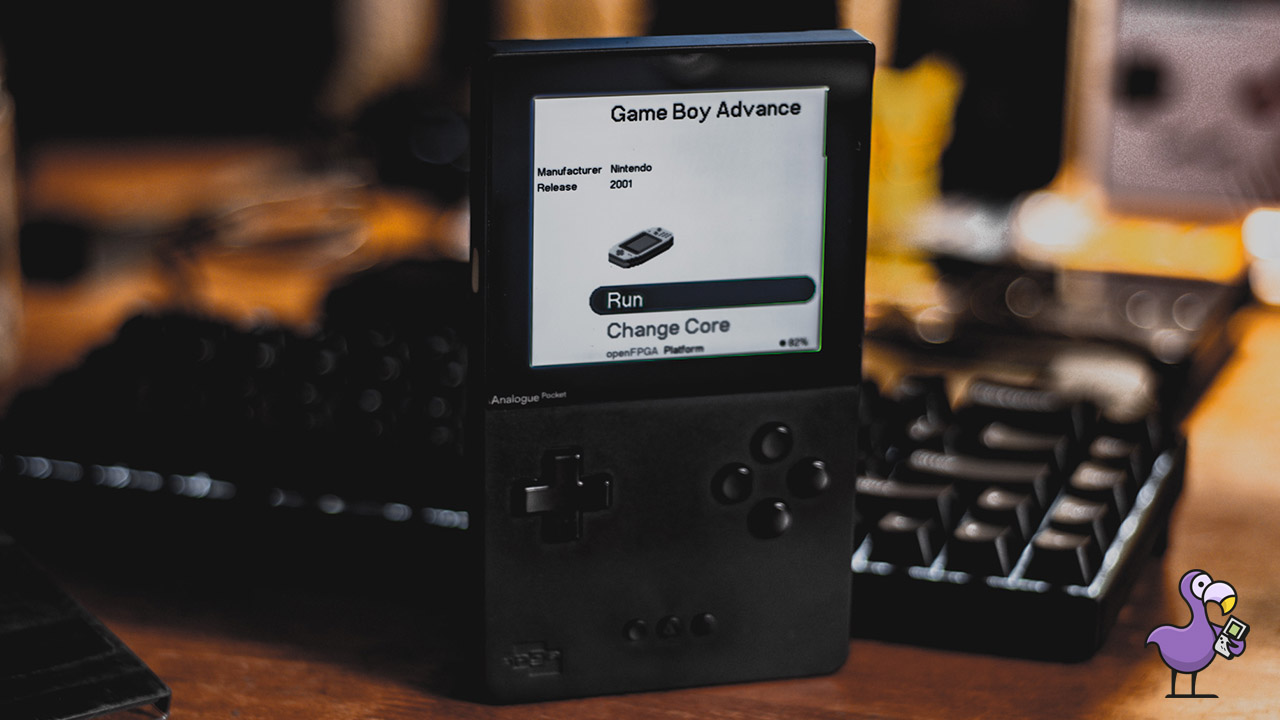
What cores are available? [As of August 4, 2022]The first cores made available for the Pocket, besides the PDP-1 core that Analogue launched along with the OS v1.1 beta update, were the Game Boy cores created by the enigmatic Spiritualized1997 Github account.
Both the openFPGA-GBA and openFPGA-GB-GBC were launched within hours of the OS v1.1 beta launch… which leads us to believe that Spiritualized1997 was aware of the upcoming update (many developers would have been given the heads up by Analogue to get some development started).
A couple of days later, we got an alpha build of a Neo Geo core by Furrtek and Mazamars312: Analogue_Pocket_Neogeo.
This one is still rough around the edges, but it does work with many popular game titles already.
It’s just a matter of time before we start seeing many popular game consoles ported over, and the Analogue Pocket will become one of the most beautiful “emulators” out there.. using FPGA technology to accurately mimic the performance of original consoles at a hardware level.
How to install coresThe first step is to make sure your Analogue Pocket is up to date.
We previously shared How To Update Your Analogue Pocket (The Right Way), and the method should be pretty much the same with the new update.
You will also need an SD card for the Pocket, as all of your cores and ROMs will run directly from that card instead of the game cartridge slot.
The next step will be to download the new cores. These can be found in a downloadable ZIP file on the Github sites for each core. For those less familiar with Github, these packages can be found using the “Releases” link on the right side of the page.
 download console cores on github
Everything within the zip can be dropped directly to the root folder of your SD card to install the core.
 Root folder of the SD card in the analogue Pocket
That’s actually it (mostly). You now have the core(s) installed to your Analogue Pocket.
The complicated partThat all sounded pretty easy right? Well it actually is. However there is one step that could be thought of as difficult.
There are two major components that the developers of new console cores cannot legally provide to end users: BIOS files and ROM files.
The BIOS files are the code instructions for the hardware and software to properly interface with eachother to play the games.
ROM files are the video game files that will now act as your game cartridge (but now it’s pulled directly from the SD card).
As an example, for the openFPGA core for Game Boy Advance, Spiritualized1997 specifies how to install both the BIOS and ROMs to their appropriate locations:
You will need to add a GBA bios to your sd card. Name the gba bios file "gba_bios.bin" and place it in the assets/gba/common folder.

Place rom files in the assets/gba/common folder.
Does that sound difficult? Don’t worry.. it’s not that complicated.
Luckily, we have a really awesome tool available to us called Google.
So just direct your web browser to Google and type in “GBC bios download” / “GBA bios download”, and you will quickly locate the needed file for whichever core you are setting up.
 Locate the system BIOs files online to manually install
Rename the file if necessary and place it in the folder where they specified.
Then use Google to locate the ROM file of your favorite games, and place those in the specified folder.
Once all that is done… VOILÀ… you’re ready to play your favorite games directly from your SD card.
 Photos provided by Larkin warner.Was it really that easy?
Pretty much!
It might sound too easy, but if a console core was properly organized in the necessary folders in their downloadable ZIP file, all you should have to do is move them over to your SD card’s root folder.
It will likely always require you to locate the BIOS somewhere online to put in the folders as well.
And of course, you will always have to grab your own game ROM files online, since that is the part that is considered less legal for any organization or individual to share with you.
Since we cover a lot of game consoles that focus on emulation, we have discussed the topic at length several times. Here’s a good read: Are Emulators Legal? Here’s Everything You Need To Know.
The simplified version of it: If you are the one sharing the ROM on the internet, you might face some minor consequences (like your website being shut down), but if you are the one downloading the files, there’s virtually no legal issues.
ReviewThe basic process to install cores to your Analogue Pocket are as follows:
1. Update your Pocket to the latest OS v1.1 beta
2. Have an SD card for your Analogue Pocket
3. Download a core in ZIP format from Github
4. Extract the contents of the ZIP and move all files to the root of your SD card
5. If necessary, locate the BIOS file online, download it, put it in the necessary folder
6. Locate game ROMs online, download them, put them in the appropriate folder
The post How To Install Cores Onto Your Analogue Pocket appeared first on Retro Dodo.
* This article was originally published here

Comments